
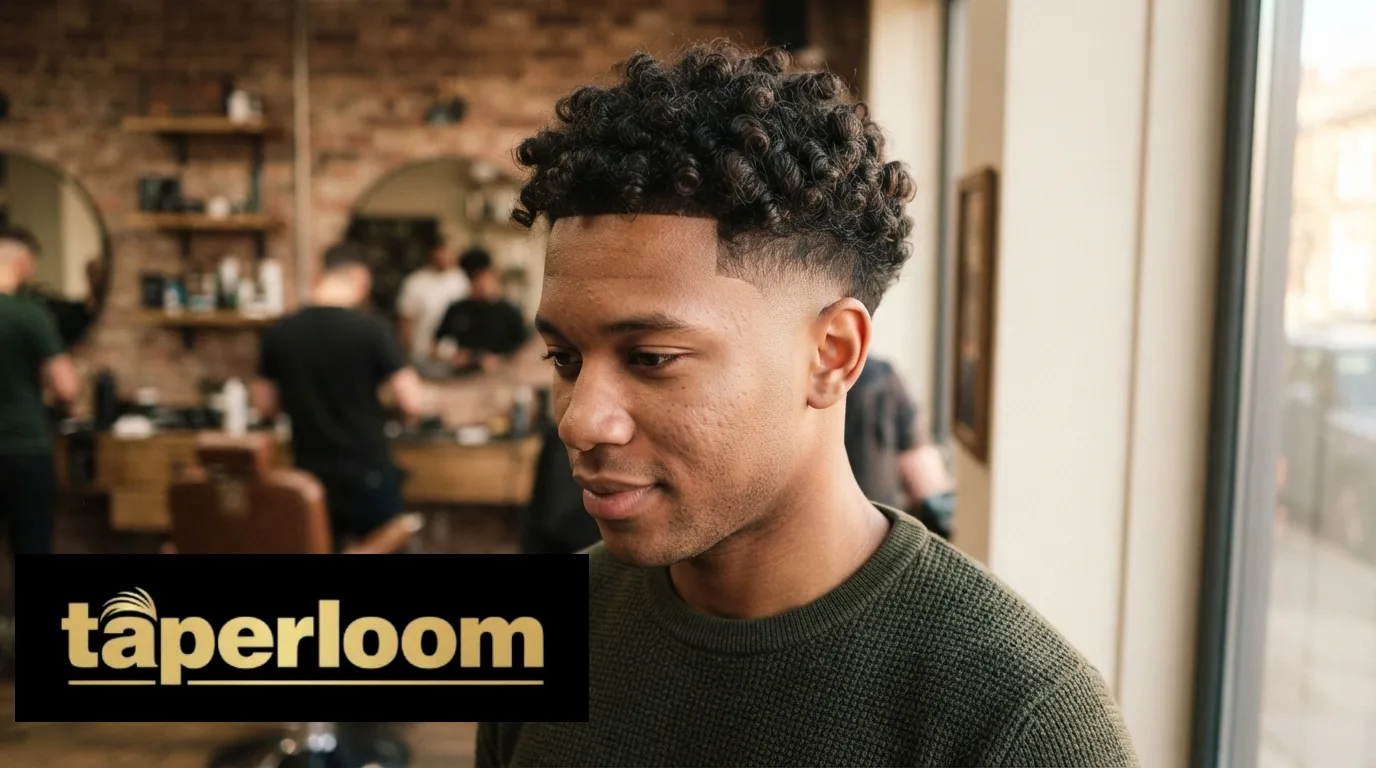
Quick answer: A mid taper fade curly hair cut keeps your curls at their natural length on top while the sides blend down gradually, starting around the mid point of your head, roughly level with your eyebrows to your hairline above the ear. It gives you clean, tapered sides without touching your curl pattern, and it works on everything from loose waves to tight coils.
If you’ve got curly hair and you’re tired of it turning into a triangle shape by week three, this is usually the fix.
A mid taper removes the bulk that makes curls flare out sideways, without cutting into the volume you actually want to keep. Below, you’ll find exactly what this cut is, which curl types and face shapes it suits best, 15+ ways to wear it, the exact words to use with your barber, and how to style and maintain it so it doesn’t fall apart between visits.
What Is a Mid Taper Fade on Curly Hair?
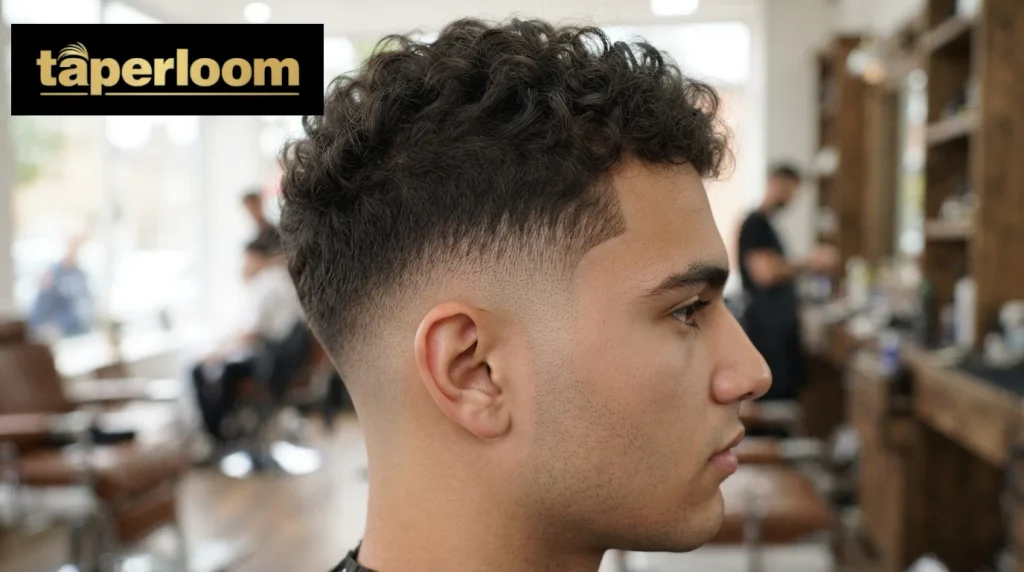
A mid taper fade on curly hair is a haircut where the sides and back shorten gradually starting around the mid height of your head, while the curls on top stay at their natural length. The result is a clean, faded perimeter that frames your curls instead of competing with them.
The key thing to understand is that a taper and a fade aren’t technically the same thing, even though barbers and clients use the terms interchangeably. A taper is a gradual length change that stays soft and blended.
A fade goes further, taking the sides down to a shorter guard length or all the way to skin. A mid taper fade borrows from both, the gradual blending of a taper, placed at a mid height, finished with fade level precision.
On curly hair, this placement matters more than it does on straight hair. Curls add width as they grow out, so shortening the sides at the right point stops that width from taking over the whole silhouette. Your curly crown stays full and defined, while the sides do the work of keeping the cut looking sharp.
In short:
- Taper = gradual length change, softer edges
- Fade = shorter finish, sharper contrast
- Mid placement = the blend starts around eyebrow to hairline height above the ear
- Curls on top = untouched in length, only shaped and cleaned up
This combination is why the cut works across such a wide range of curl patterns. It’s not really cutting your curls differently. It’s cutting everything around them differently.
Mid Taper Fade vs Low Taper Fade vs High Taper Fade on Curly Hair
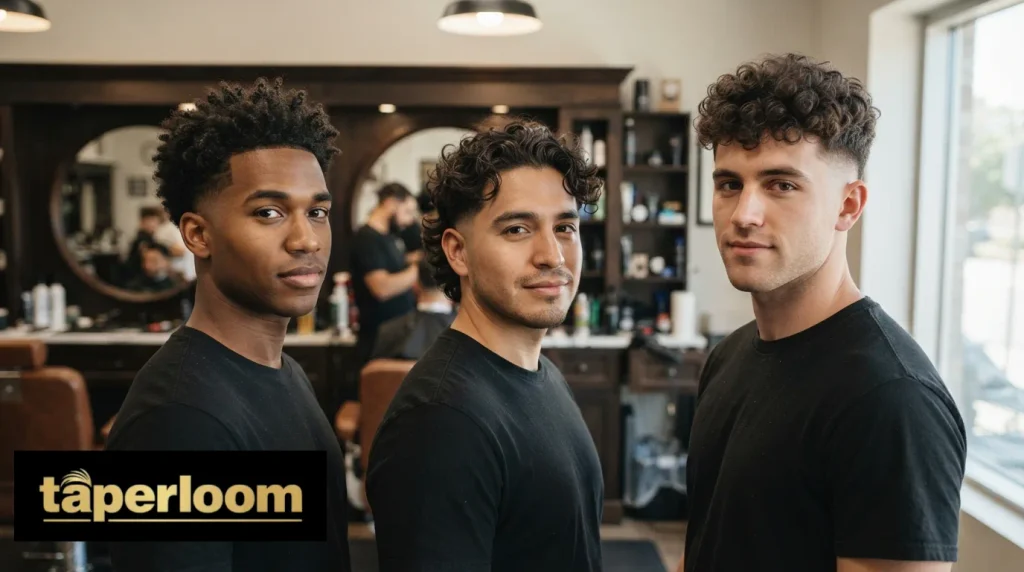
The height of a taper decides two things: how much side weight you keep, and how much contrast shows against your curls. Moving the blend up removes more hair and sharpens the look. Moving it down keeps more length and softens the transition.
None of these heights is objectively better. They just suit different goals. If you’re still deciding between placements, our low taper fade vs mid taper fade comparison breaks the choice down in more detail.
| Taper Height | Blend Starts | Side Weight Kept | Contrast Against Curls | Best For |
| Low Taper | Near the ear and nape | Most | Subtle | Conservative styles, workplaces with strict grooming rules |
| Mid Taper | Around eyebrow to hairline level | Moderate | Moderate | Most curl types, a balance of clean and natural |
| High Taper | Above the hairline, closer to the crown | Least | Strong | Bold, high contrast looks with more scalp exposure |
A low taper fade keeps nearly all your side hair and reads more like a neat trim than a statement cut. It’s the safest option if you’d rather not show much scalp, and it works well if your sides are naturally finer. If that sounds closer to what you want, our low taper fade curly hair guide covers that placement in full.
A mid taper fade sits right in the middle. It removes enough side bulk to stop curls from flaring outward, without going so short that the cut demands frequent touch ups. This is usually the starting point barbers recommend if you’ve never had a taper before.
A high taper fade pushes the blend further up, which means more scalp shows and the line between your curls and your sides becomes sharper. It looks bold, but it also grows out faster, since a sharper line loses its crispness sooner than a softer one.
A simple way to decide: if you’re unsure which height suits you, go with mid or lower. A barber can always take more off next time. Nobody can put length back on the same day.
Curl Type Guide: How Your Curl Pattern Changes This Cut
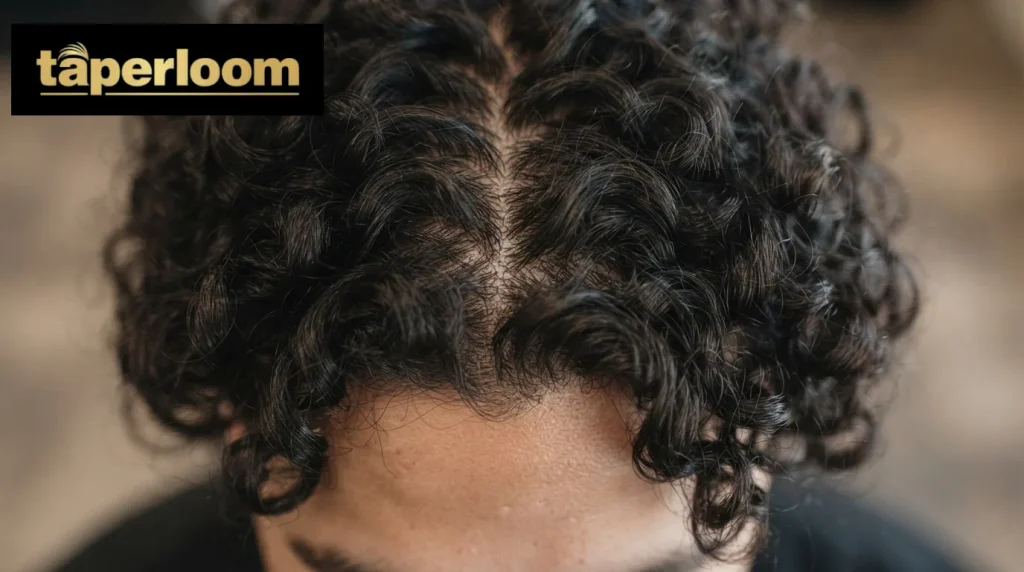
Your curl type doesn’t decide whether a mid taper fade will work. It decides how the finished cut will actually look on you.
Density, curl diameter, and how much your hair shrinks as it dries all matter more than the letter and number on a curl chart, but the chart is still a useful starting point for talking to your barber.
| Curl Type | Pattern | How the Mid Taper Reads on This Type |
| 2A to 2C (waves) | Loose S shaped waves | Sides blend in smoothly with little visible step; softer overall silhouette |
| 3A to 3B (curls) | Springy, well defined curls | Clear contrast between tapered sides and curly top; classic mid taper look |
| 3C (tight curls) | Tight, dense curls | Fuller crown forms quickly; taper removes side bulk that would otherwise widen the shape |
| 4A to 4B (coily) | Coily, less defined pattern | Taper sculpts a rounded crown shape while sides stay clean and controlled |
| 4C (coily/afro textured) | Tightly coiled, high shrinkage | Biggest gap between wet and dry length; dry length check is essential before finishing |
Curly Hair Shrinkage: The Detail Barbers Get Wrong Most Often
Curly and coily hair can shrink 30 to 75 percent from its wet length once it dries, depending on the tightness of the pattern.
That means hair cut to look right while wet can end up noticeably shorter than expected once it springs back. This is the single most common reason people leave the chair disappointed with an otherwise well executed cut.
The fix is simple: ask your barber to check the top length while it’s dry, not just while it’s wet. If your curls are tighter, 3C to 4C, build in extra length on top to account for shrinkage.
Does hair density matter too? Yes. Thicker, denser curls hold more volume on top and can carry a shorter taper without looking thin. Finer, less dense curls often look better with a slightly higher taper, since that removes more side bulk to balance the top.
Face Shape Guide: Matching the Cut to Your Features
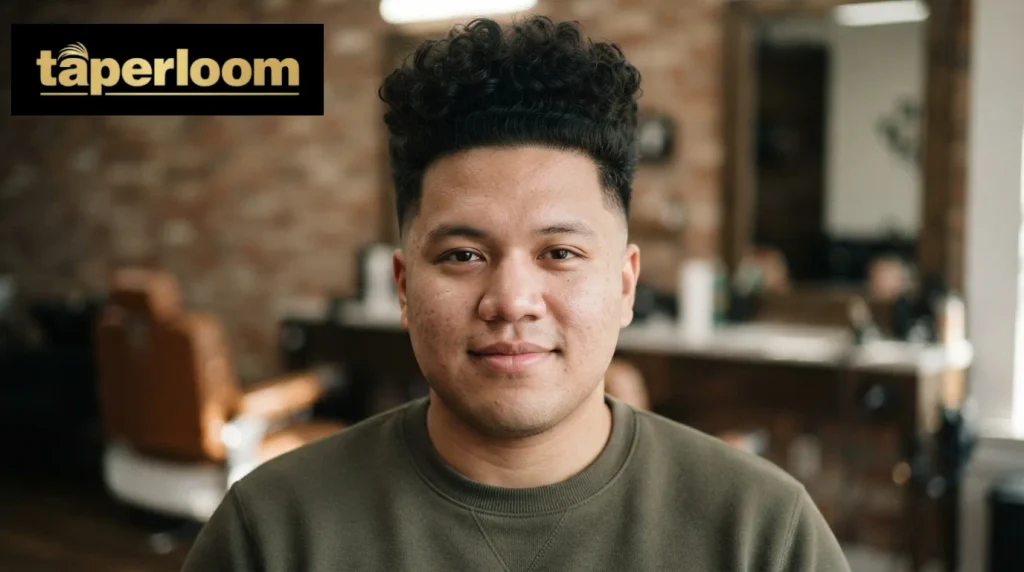
A mid taper fade curly hair cut is flexible enough to work with most face shapes, but small adjustments to top length and taper height can make it far more flattering.
The goal is always the same: balance out your face’s proportions rather than exaggerate them.
| Face Shape | What to Adjust | Why It Works |
| Round | Add height on top; keep sides tighter with a mid or slightly higher taper | Height elongates the face and reduces width at the cheeks |
| Square | Keep curls softer and rounded on top; avoid sharp, blocky perimeter lines | Softens strong jaw angles instead of emphasizing them |
| Oval | Almost any variation works; mid taper with moderate curl length is the safest default | Oval faces have balanced proportions already, so there’s little to correct |
| Oblong | Keep more width and volume on the sides; avoid excessive height on top | Extra height stretches an already long face further |
| Heart | Keep fullness through the mid top rather than piling volume near the forehead | Balances a wider forehead against a narrower chin |
| Diamond | Add soft curl volume at eyebrow level and keep the crown controlled | Widens the narrower forehead and jaw areas visually |
A quick way to check what suits you: stand in front of a mirror and look at where your face is widest. If it’s at the cheekbones, add height. If it’s at the jaw, soften the top. If it’s roughly even top to bottom, you have the most freedom to choose based on style preference alone.
None of these adjustments change the core cut. You’re still getting a mid taper fade with curls on top.
You’re just telling your barber how much length and volume to leave in specific areas so the shape works with your features instead of against them.
The Pyramid Shape Problem (And How a Mid Taper Fixes It)
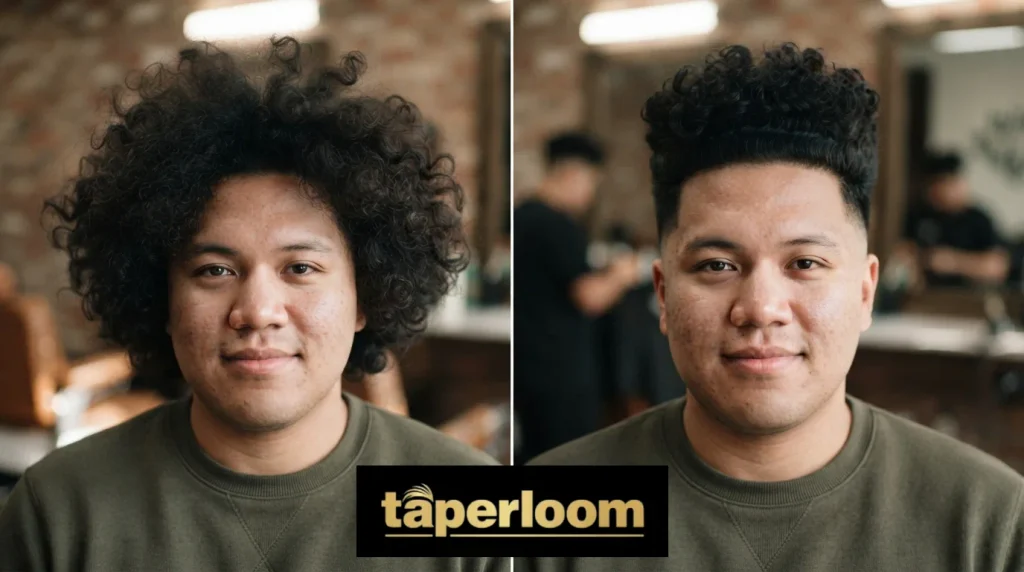
If you’ve ever grown your curls out without a proper cut, you’ve probably run into this: your hair gets wider at the sides than it is on top, and your head starts to look like a triangle.
This is what barbers and curly hair specialists call the pyramid shape, and it’s one of the most common complaints among people with curly or coily hair.
Why does it happen?
Curly hair grows outward and upward rather than lying flat. Without regular shaping, the sides and back accumulate width faster than the top does, since gravity pulls straight hair down but has far less effect on curl patterns.
Over a few months of no haircut, the sides can end up bulkier than the crown, which throws off the whole silhouette.
How a mid taper fade fixes it: A mid taper removes bulk specifically from the sides and back, the exact areas causing the width problem, while leaving your top length and curl pattern completely untouched. This does three things at once:
- Narrows the silhouette by cutting down the side volume that was pushing outward
- Keeps your curl definition on top, since the taper doesn’t touch that area
- Creates a visual balance where the top reads as the fullest part of your hair again, not the sides
This is also why a mid taper fade tends to look better for longer than a basic trim. Since the fix is structural, removing width where it builds up fastest, rather than cosmetic, the shape holds up better between visits, even as new growth comes in.
A quick way to tell if you have this issue: if your hair looks wider at ear level than it does at the crown, you likely have some degree of pyramid shape. A mid taper is usually enough to correct it without needing to cut your top length down.
15+ Best Mid Taper Fade Curly Hair Styles
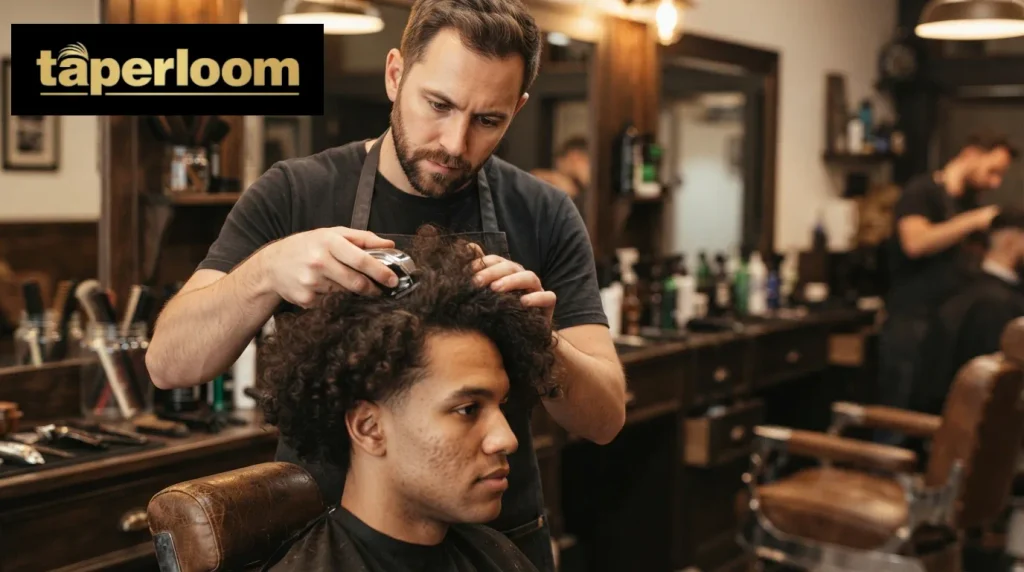
Most of these styles are variations on the same core idea: a tapered perimeter paired with curls left at different lengths, textures, or directions on top. Think of them as combinations to describe to your barber rather than fixed names to memorize.
1. Classic Curly Mid Taper
Curls at a natural, moderate length on top with a clean tapered perimeter. Low maintenance and a safe starting point if this is your first taper.
2. Mid Taper with Curly Fringe
Top curls directed forward to fall over the forehead instead of sitting back naturally. Changes the front of the style far more than the sides. Our low taper fade fringe guide covers the same pairing at a lower placement, if you want to compare heights.
3. Curly Blowout Mid Taper
Extra height and volume on top, dried and lifted outward rather than left compact. The highest effort option since the shape comes from styling, not just the cut.
4. Short Curly Mid Taper
Top curls cut close and even, letting the taper lines do most of the visual work. Minimal daily styling required.
5. Mid Taper with Coily or Afro Textured Hair
Full, rounded crown volume kept intact while the sides taper cleanly into it. A go to combination for tighter curl patterns. Our low taper fade afro guide shows how the same principle works at a lower blend height.
6. Mid Taper with Line Up
A sharp, defined line traced along the hairline and sideburns for extra precision. Adds a polished finish to any of the styles above.
7. Mid Taper with Beard Blend
The sideburn taper runs directly into facial hair instead of leaving a visible step at the jaw. Popular for a more unified, groomed look.
8. Curly Mullet Mid Taper
Length kept longer at the back while the top and sides stay shorter and tapered. A bolder, more distinctive silhouette. Our low taper fade mullet guide has more mullet variations if this direction interests you.
9. Curly Quiff Mid Taper
Top curls swept upward and back rather than left to fall naturally. Works well for medium length curls with some natural hold.
10. Textured Curly Fringe Mid Taper
A messier, more undone version of the fringe style, with curls left loose rather than defined. Suits a relaxed, low effort aesthetic.
11. Curly Buzz Cut Mid Taper
Very short curls left close to the scalp on top, blending straight into the tapered sides. About as low maintenance as this cut gets. See our low taper fade buzz cut guide for the guard length chart and cost breakdown behind this look.
12. Permed Curls Mid Taper
A perm added to straight or wavy hair to create defined curls on top, paired with a clean tapered perimeter. Needs about a week to settle before your first touch up.
13. Dyed Curls Mid Taper
A color change on top adds contrast, while the clean taper keeps the overall look controlled rather than busy.
14. Curly Mid Taper with Design
A shaved line or pattern added through the tapered section for extra detail. Curls on top remain the main focus.
15. Long Curly Mid Taper
Curls left long enough to reach the forehead or cover the ears, paired with a mid taper on the sides. Proof that taper height and top length are independent choices.
16. Wavy Mid Taper
For looser 2A to 2C wave patterns, the sides blend in with almost no visible step, giving a softer overall silhouette than tighter curl types.
Each of these works with any curl pattern from loose waves to tight coils. What changes is the level of definition and how much daily styling the top requires.
What to Say to Your Barber (Word for Word)
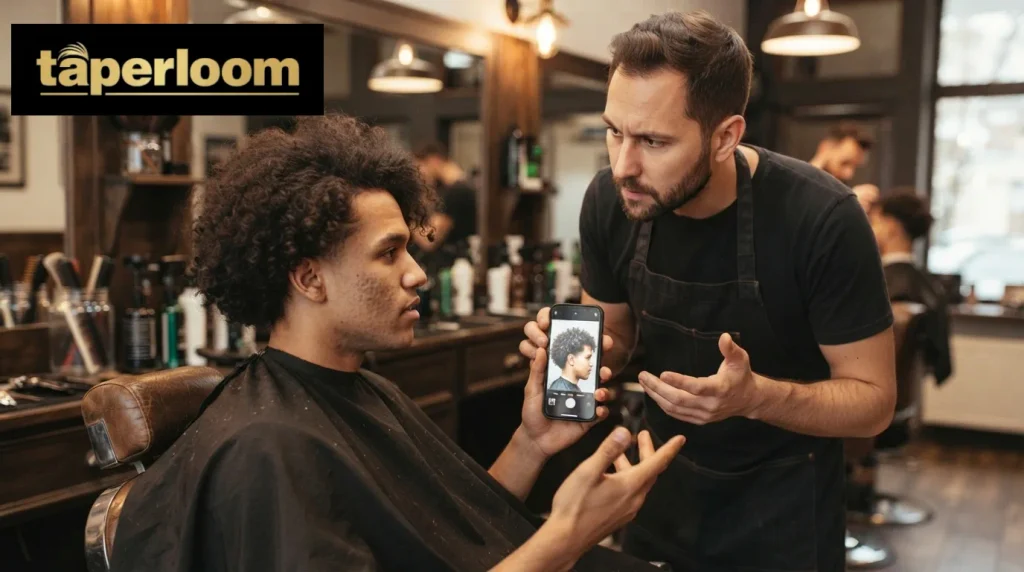
A vague request like “give me a mid taper” leaves too much room for interpretation, since barbers don’t all use the term the same way.
A clear brief covers five specific things: a reference photo, where the taper starts, how short it finishes, how much curl length stays on top, and how the neckline should look.
Copy this and read it out at the chair:
“I’d like a mid taper fade on my curly hair. Start the blend around eyebrow to hairline height above my ear, not lower. Finish it at a soft shadow rather than skin. Leave enough length on top to keep my curl definition, and check the length while it’s dry before we call it done. Keep my neckline natural rather than squared off.”
Break that down into five parts, and here’s what each one is doing:
1. Bring a reference photo Choose a photo with curl density and pattern close to your own. A photo settles what words alone can’t, since mid taper means slightly different things at different shops.
2. Point to where the taper should start
Don’t just say mid. Physically point to the spot on your head. This removes any guesswork and is the single most common source of a taper coming out higher than expected.
3. Decide the finish: skin or shadow
A mid taper doesn’t have to go down to skin. A soft shadow finish keeps more coverage and grows out more gracefully. State this clearly rather than letting the barber default to whatever they usually do.
4. Specify how much curl length to keep
Enough to see curl definition, or long enough to reach your forehead, both work better than just a trim. Always ask for a dry length check before the cut is finished, since curly hair shrinks as it dries.
5. Confirm the neckline shape
A natural neckline grows out more evenly. A squared off neckline looks sharper at first but needs more frequent upkeep to hold its shape.
How to Style a Mid Taper Fade with Curly Hair
Styling this cut is mostly about the top. The tapered sides are your barber’s work and don’t need product. Here’s the routine that keeps curls defined without disturbing their natural pattern.
Step 1: Start with damp, detangled hair
Detangle while your hair is wet, never dry. Brushing or combing curly hair when it’s dry causes breakage and frizz. Work through it in sections using your fingers or a wide tooth comb, starting from the ends and working up.
Step 2: Apply a leave-in conditioner
Apply to towel dried, still damp hair. A leave-in conditioner reduces frizz and static, and makes the next steps of your routine easier. Use the smallest amount that fully coats your curls, and keep it off your scalp to avoid product buildup.
Step 3: Add a curl cream, mousse, or gel
Layer a curl definition product on top of the leave-in depending on how much hold you want. Gel gives the strongest hold and definition. Mousse and cream give a softer, more natural finish. Apply while hair is still damp, working it through evenly rather than piling it on in one spot.
Step 4: Air dry or diffuse without flattening the shape
Air drying is the gentlest option and the one that best preserves curl pattern over time. If you use a diffuser, scrunch your curls upward toward your scalp rather than pulling down. Pulling flattens the curls against the tapered sides and loses the contrast the cut is built around. Keep heat on the lowest setting if you use one at all.
Step 5: Refresh between wash days On days you don’t wash, mist your curls lightly with water and work in a small amount of leave-in rather than repeating the full routine.
Finger detangle only, and skip the brush entirely once curls are styled.
A quick styling checklist:
- Detangle wet, never dry
- Leave-in first, curl product second
- Diffuse upward, not down
- Lowest heat setting, or none at all
- Refresh with water and leave-in, not a full restyle
The whole routine only needs a few minutes once you’ve done it a couple of times. The order matters more than the specific products you use.
Maintenance and Cost: Keeping the Taper Sharp
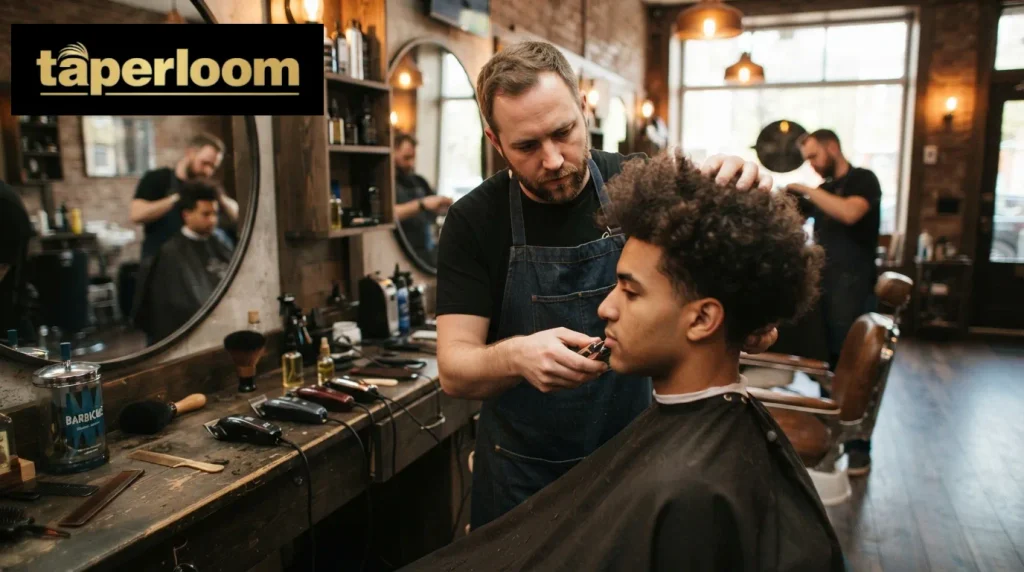
A mid taper fade runs on two separate schedules. The taper needs a barber every few weeks to stay crisp.
Your curls need consistent moisture and gentle handling, which would be true whether or not you had this haircut at all.
How often should you get a touch up?
| Finish Type | Touch-Up Frequency | Why |
| Soft shadow finish | 3 to 4 weeks | Blends softer, so growth is less noticeable |
| Guard length finish | 2.5 to 3.5 weeks | Moderate contrast, moderate growth tolerance |
| Skin finish | 2 to 3 weeks | Sharpest line, blurs the fastest as hair grows back in |
The real signal isn’t the calendar. It’s the point where the blend stops looking like a fade and starts looking like uneven growth.
Between full visits, you can clean up your own neckline and sideburns with a trimmer, but leave the actual blend to your barber since it depends on multiple guard lengths meeting at the right points.
What does a mid taper fade cost?
| Setting | Typical Price Range |
| Barbershop (standard) | $25 to $45 |
| Barbershop (specialist in textured hair) | $35 to $65 |
| Salon | $40 to $80 |
| Home/DIY touch-up (neckline only) | Cost of clippers, one-time |
Prices vary by city and barber experience, but a barber who specializes in curly or textured hair is often worth the higher end of the range, since they’re less likely to misjudge shrinkage or over-thin the top.
Caring for the curls between visits
This part has nothing to do with the taper. Condition your whole head, not just the ends, since curly hair is naturally drier and more prone to breakage than straight hair.
Wash only as often as your scalp and curls actually need it rather than on a fixed schedule. At night, a loose pineapple style tie or a satin pillowcase reduces friction that would otherwise frizz your curls and flatten your tapered sides while you sleep.
Grow-Out Timeline: What to Expect Week by Week
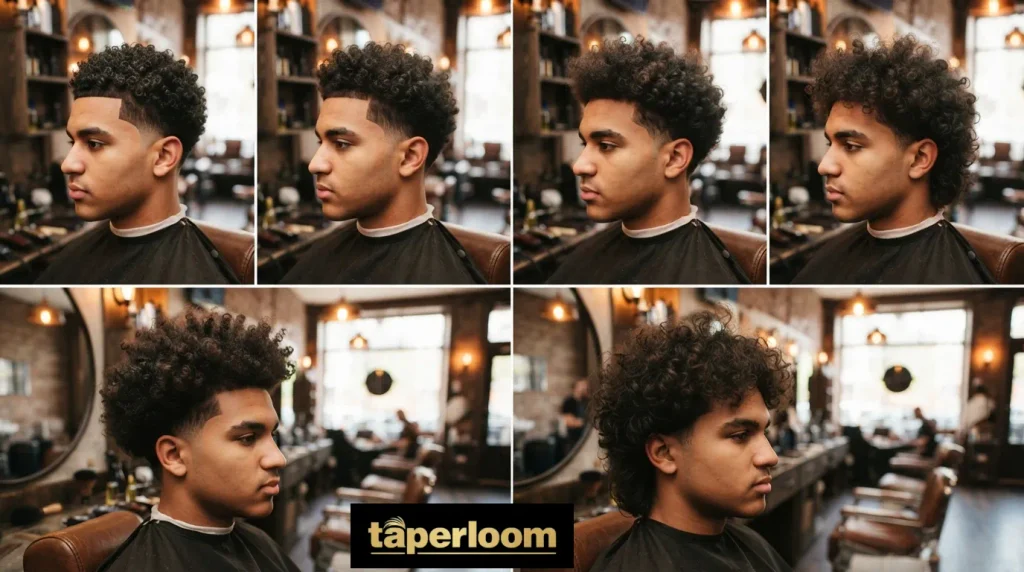
Curious how long you can stretch between visits before the cut starts to lose its shape? Here’s a realistic breakdown.
| Timeframe | What’s Happening | Still Looks Sharp? |
| Week 1 | Fresh cut, blend is crisp, top curls settling into their cut length | Yes, at its best |
| Week 2 | Sides start filling in slightly; blend line still clearly visible | Yes |
| Week 3 | Growth softens the contrast between sides and top; still presentable | Mostly, especially with a shadow finish |
| Week 4 | Blend line starts blurring into general growth; sides gaining visible length | Borderline; skin finishes look rougher here than shadow finishes |
| Week 5 to 6 | Taper has essentially grown out into a longer, less defined shape; curls on top may start affecting overall silhouette again | No, time for a touch-up |
Why finish type changes this timeline: A skin finish creates the sharpest possible contrast on day one, which means it also has the furthest to fall as hair grows back in.
A soft shadow finish starts with less contrast, so the growth is far less noticeable week to week. If you want to stretch further between barber visits, ask for a shadow or guard length finish instead of skin from the start.
What can you do to extend the timeline yourself? Trimming just your neckline and sideburns at home with clippers can buy you an extra week or so before the overall shape needs a full barber visit.
This only works for the perimeter, not the actual blend, which needs to be redone by a professional to stay smooth.
Common Mistakes to Avoid
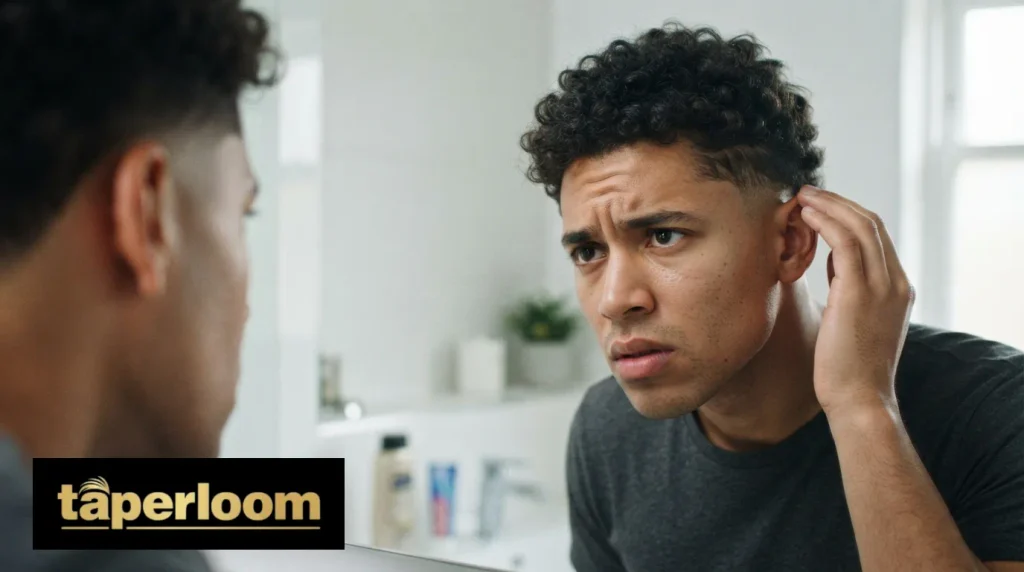
Most disappointing results from this cut come down to a handful of avoidable errors, not a bad haircut itself.
- Letting the taper creep too high. If you’re not specific about where the blend starts, it can end up higher than you wanted, quietly turning a mid taper into a high taper. Point to the exact spot before the clippers start.
- Cutting top length based on wet hair alone. Curly hair can shrink significantly as it dries. A length that looks right wet often reads noticeably shorter once it springs back. Always ask for a dry length check before the cut is finished.
- Bringing a reference photo from a different texture. A photo of straight or loosely wavy hair won’t translate onto denser or tighter curls, since volume and shrinkage behave differently. Match the reference photo to your own density and curl pattern.
- Skipping the leave-in conditioner. Going straight to gel or mousse without a leave-in first often leads to more frizz and less definition, not less.
- Brushing curls when they’re dry. This breaks up curl clumps, causes frizz, and can lead to breakage over time. Always detangle on wet or damp hair.
- Pulling the diffuser down instead of scrunching up. This flattens curls against the tapered sides and kills the contrast the whole cut is built around.
- Waiting too long between touch-ups. Once the blend line blurs into general growth, the sides start rebuilding the width the taper was meant to remove, and the pyramid effect can creep back in.
- Choosing a barber with no textured hair experience. Curly and coily hair behaves differently under the clippers than straight hair. A barber unfamiliar with shrinkage and curl density is far more likely to cut the top too short.
Alternatives If a Mid Taper Isn’t the Right Fit
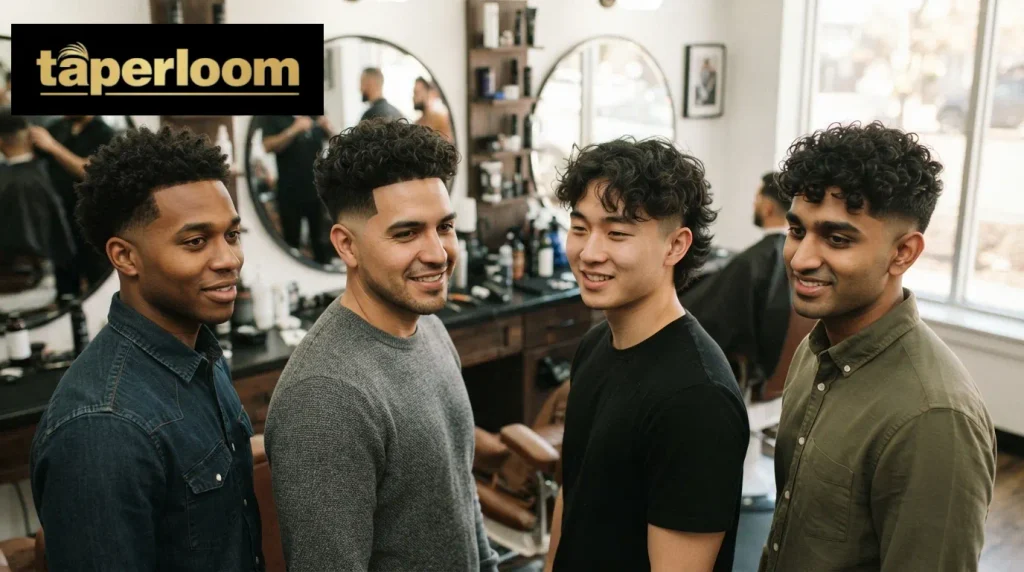
If a mid taper doesn’t quite match what you’re after, the fix is usually a different placement or shape rather than an entirely different concept.
- Low taper fade. Starts nearer the ear and nape, keeps the most side weight, and shows the least scalp. Good if you want something subtler or work under a strict grooming policy. Our low taper fade vs mid taper fade guide walks through that decision in more detail.
- High taper fade. Moves the blend higher up the head, removing more side hair and creating sharper contrast against your curls. A bolder option that needs more frequent touch-ups.
- Burst fade. Arcs around the ear in a semicircle rather than running in a straight line, leaving the back longer. Works well if you want a rounder, softer transition. Our taper low burst fade guide covers this shape and how to ask for it.
- Drop fade. Curves downward behind the ear, following the natural curve of the head toward the nape. A popular pairing with curly fringes and longer top lengths.
- Skin fade. Takes the sides all the way down to bare skin for maximum contrast. Sharper looking at first, but it grows out faster and needs more frequent barber visits.
- Full mid fade (no taper). Takes a wider section of the side and back down short rather than gradually tapering it. More graphic and defined than a mid taper, less side weight kept overall.
Frequently Asked Questions
Can you get a mid taper fade without going down to skin?
Yes. A mid taper can finish at a guard length or a soft shadow instead of bare skin. The word mid refers to where the blend starts, not how short it ends.
How much curl length should you leave on top?
There’s no fixed length that works for everyone. Describe the finished look you want, like defined curls versus a fuller blown out shape, and let your barber convert that into a length based on your curl pattern and density.
Does a mid taper fade grow out well?
Reasonably well, and better than a high or skin fade. Most mid tapers stay sharp for three to four weeks, and a natural neckline grows out more evenly than a squared off one.
Can you keep long curls with a mid taper fade?
Yes. Taper height and top length are separate decisions, so long curls that reach your forehead or cover your ears pair easily with a mid taper on the sides.
Is a mid taper fade suitable for school or work?
Usually. It sits between a conservative low taper and a bolder high taper. If your dress code is strict about visible scalp, ask for a shadow finish or a slightly lower placement.
Can a mid taper fade work with a curly fringe?
Yes. The fringe shapes the front of your top while the taper shapes your sides and back, and the two are cut largely independent of each other.
How often do you need a touch up for a mid taper fade?
Every two to four weeks, depending on your finish. Soft shadow finishes stretch longer between visits than skin finishes do.
What curl types work best with a mid taper fade?
All of them, from loose 2A waves to tight 4C coils. What changes is the silhouette, since denser and tighter curls build a fuller crown than looser patterns do.
Does a mid taper fade fix the pyramid shape problem?
Yes, in most cases. It removes the side bulk that causes the widening effect while leaving your top curls untouched, which restores balance to the overall silhouette.
How much does a mid taper fade cost?
Typically $25 to $65 depending on your barber and location, with textured hair specialists often charging toward the higher end of that range.
Bottom Line
A mid taper fade works so well on curly hair because it reshapes the perimeter and leaves your curl pattern completely alone. That’s also why it adapts across every texture, from loose waves to tight coils, without needing a different approach each time.
Before your next appointment, bring a reference photo close to your own density, point to where the blend should start, name the finish as skin or shadow, and confirm how much curl length stays on top. Ask for a dry length check before the cut is called done, since that one step prevents most of the disappointment people run into with this cut.
Once you’re out of the chair, the routine stays simple: damp hair, a leave-in, gentle diffusing or air drying, and a touch-up before the blend starts reading as growth instead of a fade.

Muhammad Kaleem is a content creator who writes about hair care, hairstyles, grooming, and everyday hair trends. He enjoys turning hair-related topics into simple, practical, and easy-to-understand content that helps readers make informed choices about their hair and personal style.